The Panasonic JS relay is a widely used component in various industrial and commercial applications. However, like all mechanical devices, it may eventually require replacement. This article provides a comprehensive guide on how to replace a Panasonic JS relay, ensuring that your equipment remains operational and efficient.
**Understanding the Panasonic JS Relay**
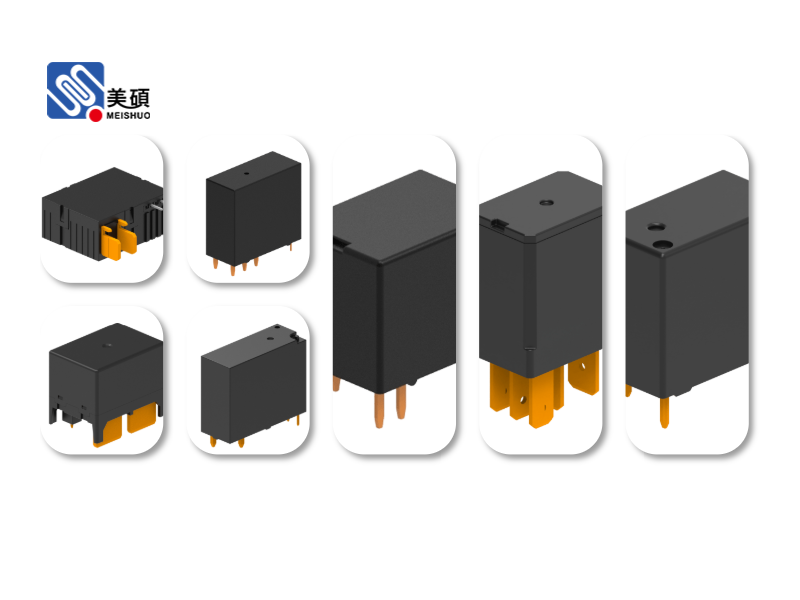
The Panasonic JS relay is a high-quality, compact relay designed for general-purpose applications. It features a reliable mechanical design and is known for its durability. The relay is available in various coil voltages and contact arrangements, making it suitable for a wide range of applications, including control circuits, motor starters, and power distribution systems.
**Why Replace a Panasonic JS Relay?**
There are several reasons why you might need to replace a Panasonic JS relay:
1. **Wear and Tear**: Over time, the mechanical components of the relay may wear out, leading to contact failure or increased resistance.
2. **Electromagnetic Interference**: Exposure to electromagnetic interference (EMI) can cause the relay to malfunction or fail.
3. **Overheating**: If the relay is not properly cooled, it may overheat and eventually fail.
4. **Physical Damage**: Accidental damage to the relay can render it inoperable.
**Identifying the Correct Replacement**
When replacing a Panasonic JS relay, it is crucial to identify the correct replacement part. This involves checking the following specifications:
1. **Coil Voltage**: Ensure that the replacement relay has the same coil voltage as the original.
2. **Contact Arrangement**: Verify that the replacement relay has the same contact arrangement, including the number of poles and throws.
3. **Mounting Type**: Check that the replacement relay has the same mounting type as the original, such as DIN rail or panel mount.
**Replacing the Panasonic JS Relay**
Here is a step-by-step guide on how to replace a Panasonic JS relay:
1. **Safety First**: Before beginning the replacement process, ensure that the power is disconnected from the relay. This is crucial for your safety and to prevent damage to the relay or other components.
2. **Remove the Old Relay**: Once the power is disconnected, carefully remove the old relay from its mounting location. This may involve unscrewing mounting bolts or releasing clips.
3. **Inspect the Circuit**: Before installing the new relay, inspect the circuit to ensure that there are no other issues that may have caused the relay to fail.
4. **Install the New Relay**: Place the new relay in the mounting location and secure it using the appropriate mounting hardware. Ensure that the relay is properly aligned with the circuit connections.
5. **Connect the Wires**: Connect the relay wires to the appropriate terminals, following the same wiring scheme as the original relay.
6. **Power On**: Once the new relay is installed and the wires are connected, reconnect the power to the relay and test its operation.
**Preventing Future Failures**
To prevent future failures of your Panasonic JS relay, consider the following tips:
1. **Regular Maintenance**: Perform regular maintenance checks on the relay and its associated components.
2. **Proper Installation**: Ensure that the relay is installed correctly and that the wiring is secure.
3. **Proper Cooling**: Ensure that the relay is properly cooled to prevent overheating.
4. **Use Quality Components**: Use high-quality components to ensure the reliability of your system.
In conclusion, replacing a Panasonic JS relay is a straightforward process that can be completed with a few basic tools and a bit of knowledge. By following this guide, you can ensure that your equipment remains operational and efficient.
Leave a Reply
You must be logged in to post a comment.